Just like me, you’ve probably wondered at some point whether or not what you’re hearing out of your headphones is how the audio is actually supposed to sound.
The answer to that question in approximately 100% of cases is no; but that doesn’t mean you can’t achieve near-perfection.
It all starts with the source material.
When you hear a track- a song on YouTube or a noise in a game, that sound – after being recorded in the physical world or synthesized in a computer – has been checked by a recording engineer, mixing engineer and mastering engineer respectfully (and often many others) and deemed to be ‘just right’.
After this point, the sound files are normally compressed (literally crushed) down from the original WAV / AIFF formats and their high sample rates (sometimes 96 khz and higher) and bit depth (often 32 bit) to make them accessible for consumers around the world listening on mobile apps like Spotify, or do be downloaded in game files.
This means right off the bat you can never truly hear anything, like Tarkov gunshots, just how the developer intended- or Nicki Minaj’s eloquent ‘Barbie Tingz’ (in F sharp minor) as it was when it fell out of heaven.
There is websites where you can buy raw uncompressed sound files- and streaming services like TIDAL occasionally offer higher bandwidth options… but it’s hit and miss.
Ok- I’ve bought a TIDAL Subscription. I’m good now right?
No. That part barely makes any difference.
Most devices can’t even physically play high bitrate or sample rate audio out of their Digital Audio Converter.
For that, you’re best off getting an…
Audio interface
Audio interfaces are essentially just dedicated, better versions of the hardware already available in modern technology. Millions of gamers own one, but have no idea how to operate them properly.
They can allow even the most outrageously large, uncompressed sound file to play perfectly… most of the time.
Many popular audio interfaces (and by extension the cheap versions built into tech like motherboards) use ‘coloured’ preamplifiers and converters inside them, where the output is not reproducing the original signal 1:1; instead, imparting their own unique touch.
This is sometimes an intentional feature, with activatable interface buttons saying things like ‘AIR Mode’ ‘Vintage Mode’ or ‘4K’- but they are really just painting a nasty greasy smear over your ears, as it were.
There’s a few factors to take into consideration when picking an audio interface beyond pure sound translation. These include noise floor, distortion- and of course, price.
Julian Krause on YouTube has made a number of excellent videos comparing the technical specifications of different interfaces to a high degree of detail.
One interface in particular, the Topping Pro E2x2, stands out for punching far above its weight in terms of component quality, while also being reasonably priced.
I’ve personally tested a wide selection of audio interfaces from large brands and they all suffer from their own quirks and inconsistencies when interacting with operating systems like Windows and MacOS- but this one is completely manageable and can run on windows inbuilt drivers- if you understandably do not trust third party closed-source software.
Another option which perhaps had an even higher level of compatability was the PreSonus 68C; and, modern Focusrite Scarlett interfaces even support open source drivers on linux.
However, neither of these options have the same quality of components as the E2x2 in high gain mode, under a microscope.
I’ve just bought a really expensive audio interface because I got a popup ad saying it was the best. Now i’m good right?
No brother. You shan’t enter into audio nirvana until you’ve completed these further commandments.
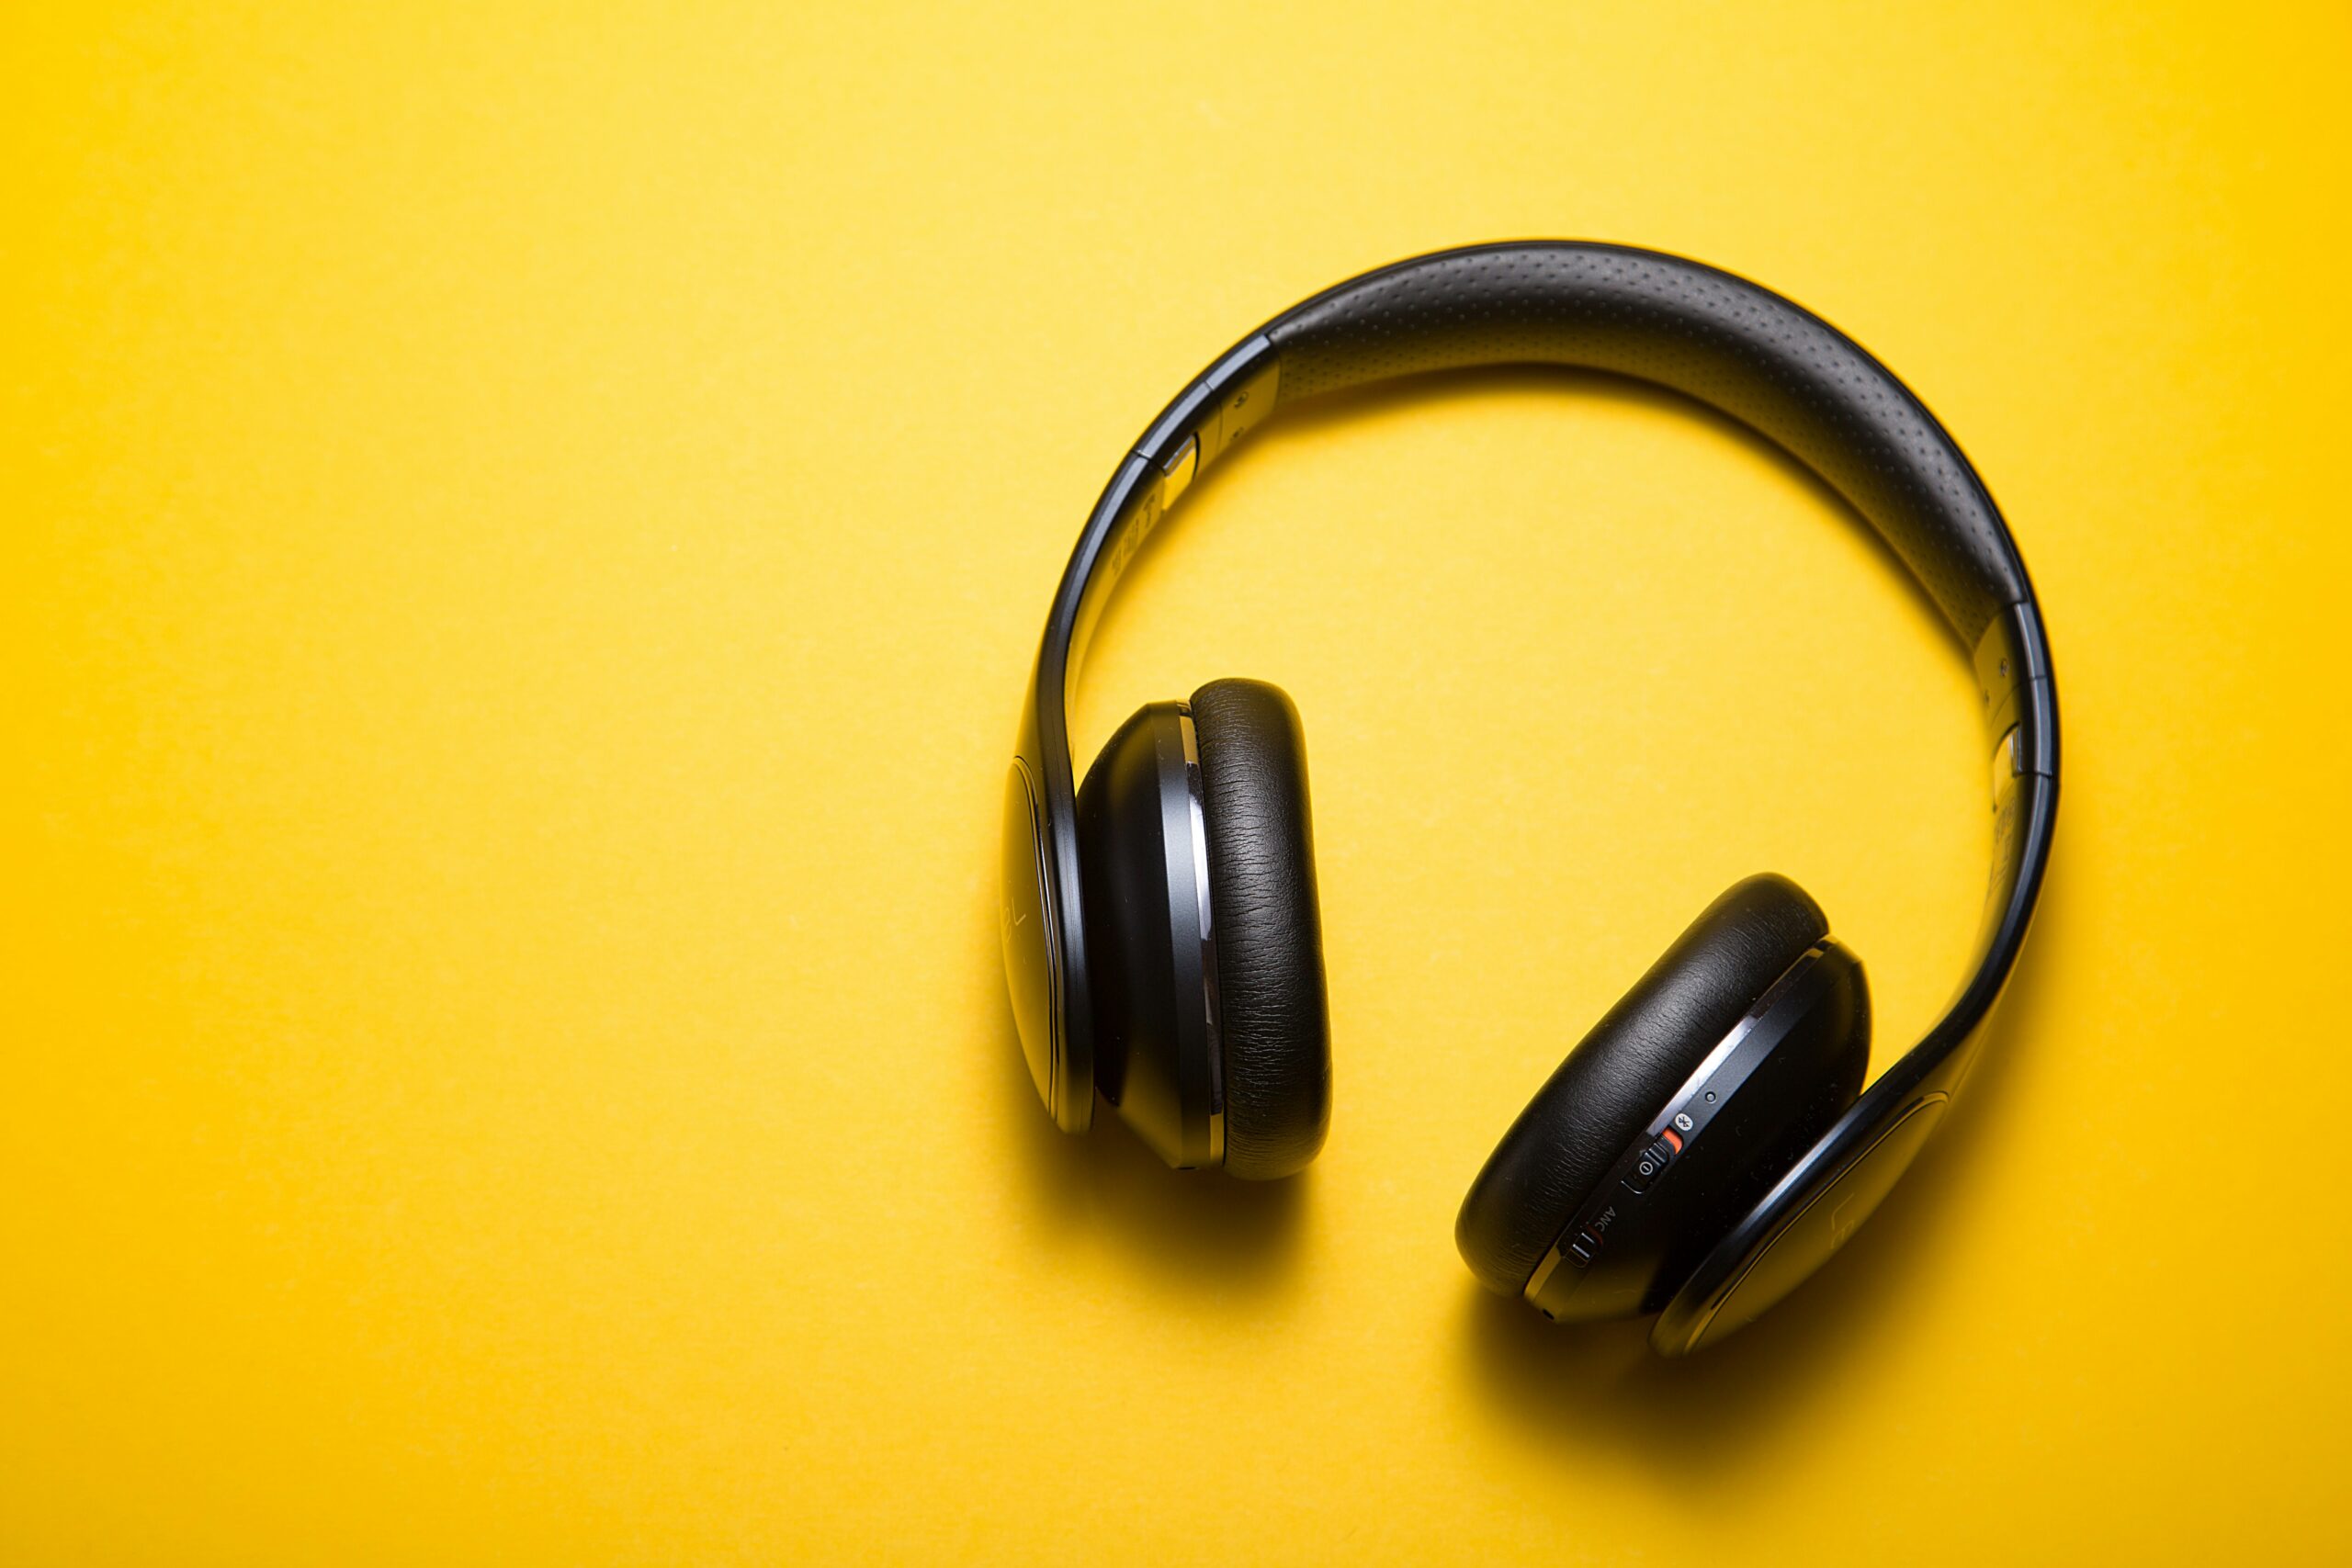
Headphones
This is where audio subculture become elitist.
“You cannot experience good sound until you spend £5000 on headphones and a headphone amp.”
There is an extraordinary amount of headphone models in circulation- and everyone has their own opinions on which are the best.
Some value features like brain frying wireless support, closed back design for noise isolation, and others just want pink headphones- or rgb/t rainbow lights.
Hey, I’m not gonna judge.
But, objectively, some headphone models do offer better sound than others by more closely representing the original signal when translating it into sound waves through the speakers (and into your ear holes).
One notable model that audio enthusiasts have long recommended, before there was even reliable methods of confirming their accuracy, is the Sennheiser HD650. These offer stellar sound reproduction, almost nailing the ‘Harman curve’ (a frequency response target designed to mimmick neutral sounding speakers in an acoustically calibrated room)- especially in the mids and high end.

They are pricey- and I won’t pretend it would ever be worth it for the normal user.
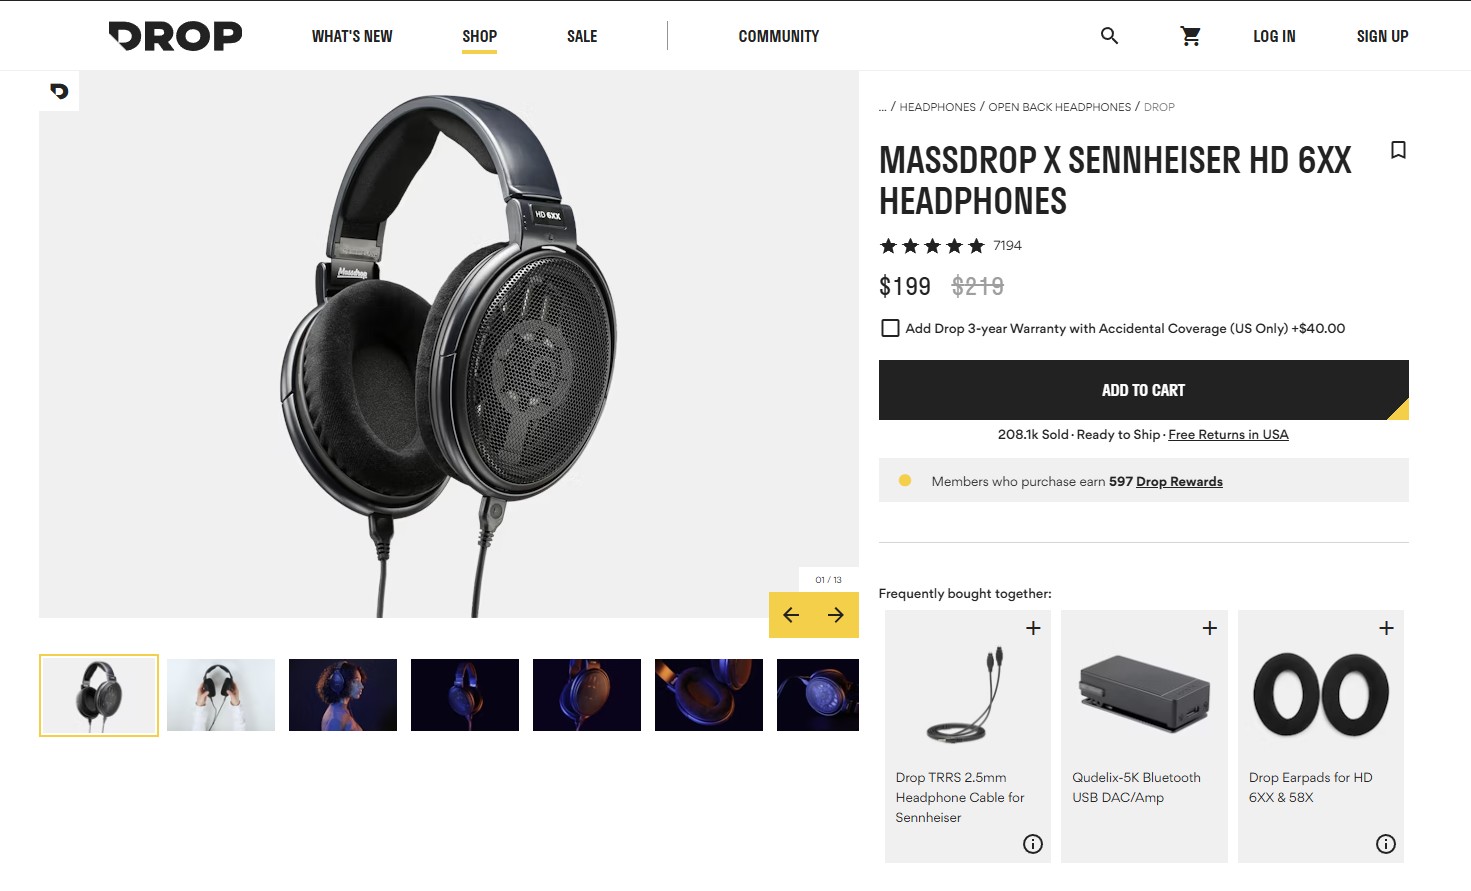
However, a company called Massdrop recently collaborated with Sennheiser to produce the Massdrop X Sennheiser HD6XX, which are identical to the original HD650.
They currently retail for £150 and are worth every penny.
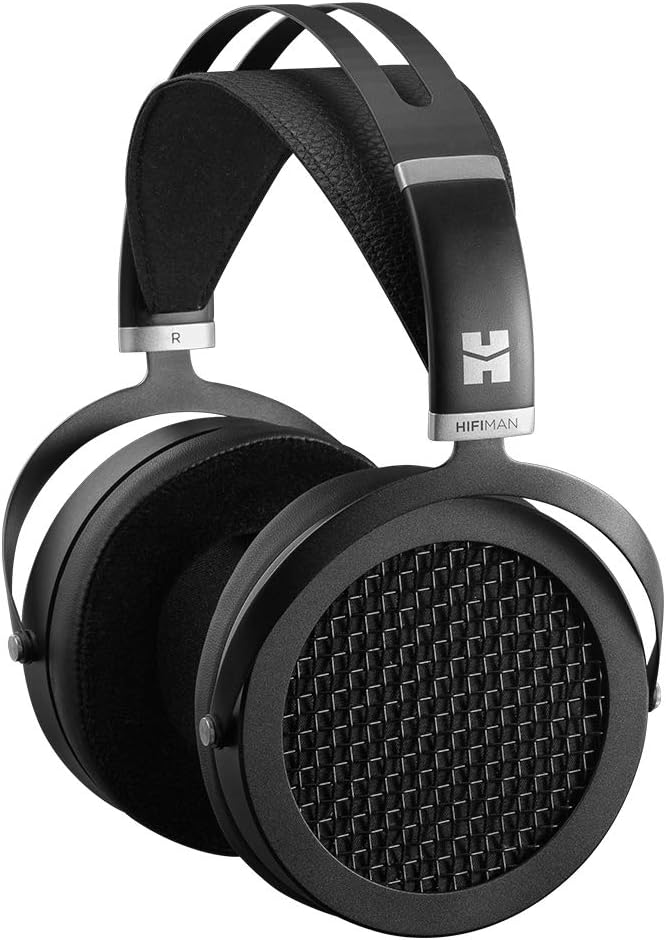
Some audio-enjoyers are starting to recommend people use ‘Planar-Magnetic’ headphones (big square magnets inside the ears), like the HiFiman Sundara, due to their superior low end audio which more closely mimmicks the Harman target compared to Dynamic driver phones like the 650’s. But, for others, they seem to cause tinnitus and produce other strange artifacts- so results vary.
Another potential pick is In-Ear Monitors like the TruthEar Hexa’s off Amazon- a budget choice with a fairly impressive sound. They offer incomparably better sound isolation versus open back headphones like the 650’s/HD6XX which can both stop you hearing the neighbours dog, and stop your family from hearing you watch that e-girl streamer on twitch.
Now can I please just get on with playing Stardew Valley and listening to Katy Perry?
No. There is one more thing you need to do my sweet innocent padawan.
Equalization
To actually get the best sound out of your computer, you’ll need to download a little program called Equalizer APO. Its a highly popular and well regarded Open Source sound equalizer for Windows that applies it’s modifications system-wide, meaning no matter which app you’re using, any corrections applied will still be present.
These ‘corrections’ are simply changes to the frequency response with the help of a highly customizable tuner, bringing the sound closer to an ideal target (such as the Harman curve mentioned earlier).
Download it from SourceForge, on the page pictured below- but don’t install yet!

Now- navigate through your windows sound settings to this page, and in advanced properties on your default playback device, select a default format of 16 bit 48 khz if supported- and even higher if you wish. Click Apply and Ok.
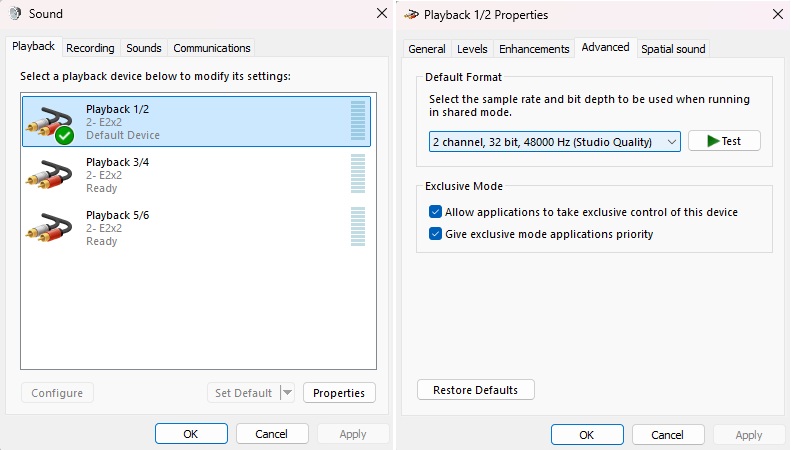
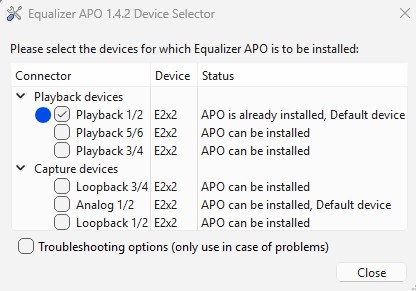
It’s time to run the Equalizer APO installer. Once done, proceed to open the Equalizer APO Device Selector (it auto-opens this on install) and select the same output device you just altered. This will apply the equalizer to that device, and can be uninstalled from it via the same method if desired.
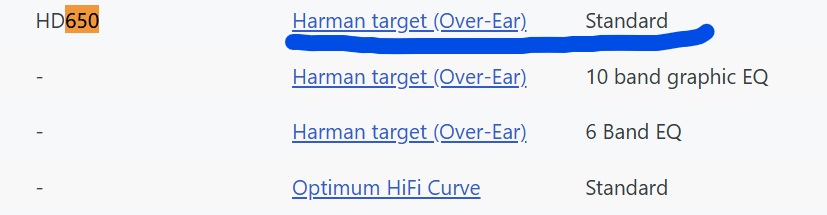
Before we finish the final step, you’ll need to go back to your browser and navigate to Oratory1990’s list of headphone EQ Presets on reddit.
Alternatively just click this link to it:
r/oratory1990 Wiki: Headphone EQ Presets
Find your particular headset among the list and click on the Harman target link- this directs you to dropbox, although there is no download.
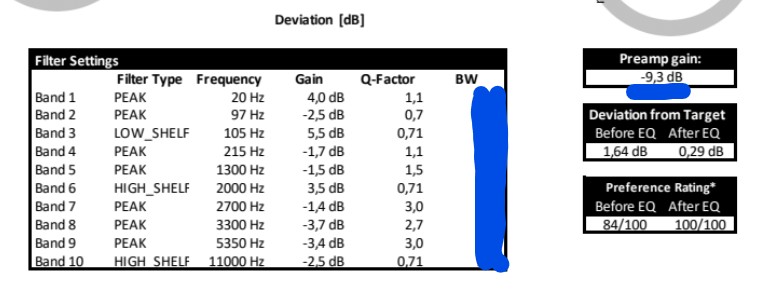
On the dropbox page you will see a section similar to the one pictured below.
Open Equalizer APO Configuration Editor, which should be installed to your computer already.
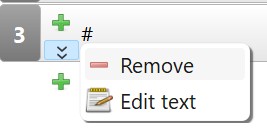
In here, remove the filters that come pre-installed by clicking remove on all of them.
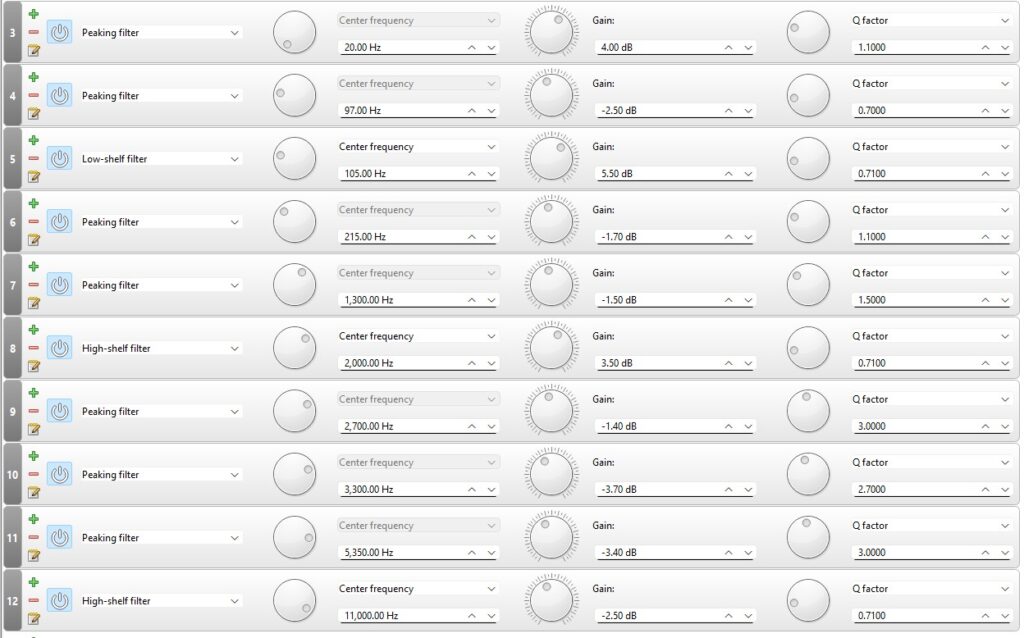
Now add, one by one, each filter from the dropbox Filter Settings page (from the website for your headset, not the above image.)
Start with the preamp filter. Press the green plus button, add a basic filters > preamp and set it to the same value as “Preamp gain:” to the right of the Filter Settings box on the dropbox page. I have underlined it on the example.

After you’ve done that, begin adding all the other filters, copied from dropbox. Click the plus > Parametric filters and then add them in order. This might take a few minutes.
Make sure all the values are entered correctly.
For shelf filters, you may need to select Q factor instead of Slope on the furthermost right dropdown menu for each filter.
For all intents and purposes, you’re now done! Congratulations! You’ve unlocked a level of audio fidelity few ever achieve.

But… I can help you do one more thing that’ll make your journey through audio nirvana just a little more enjoyable.
Calibration
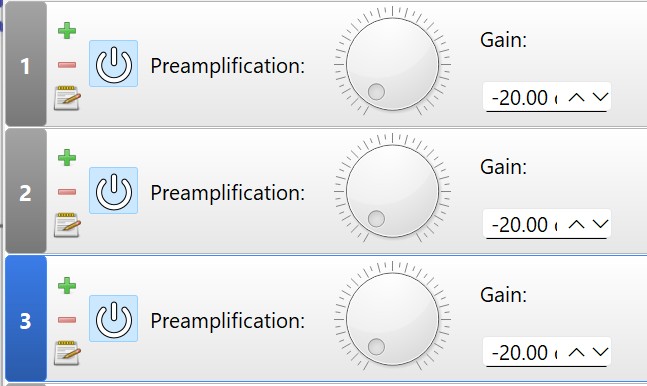
First, add a preamp filter onto Equalizer APO Config Editor (Basic Filters, Preamp).
Place it before your headset EQ you just loaded, dragging it by holding left click on the number (on it’s left side). Turn the gain all the way to minus 20.
Make another one or two preamp filters and do the exact same thing.
This is for your own safety and that of your headphones, for what we are about to experiment with.
Now: turn the volume knob / headphone knob on your audio interface all the way up. It’s important you do this at a hardware level if applicable.
Next, turn windows volume all the way up to 100%.
Finally, load a browser tab of a popular song on youtube- something recent from the Weeknd or Justin Bieber- doesn’t matter what. Drag the audio slider as low as it can go without being muted and hit play. If the volume is extremely quiet, that is good. Drag it to the maximum.
If the audio is still quiet, which it probably is, turn up each preamp in APO Config Editor to 0 gain (not plus gain) one by one, slowly, until the song playing on YouTube is as loud as you can reasonably tolerate and enjoy. Remove any preamps that reach 0 gain.
The purpose for this is proper volume calibration- it means any games, music, apps- anything that plays on your pc will start at a tolerable volume, and most often need only minor adjustments.
This is the correct way to calibrate your audio; in many audio interfaces (E2x2 included), the knobs are controlled by analog potentiometers which let the signal pass with the least resistance, and more linearly (better sound), when turned to their maximum.
Setup complete
You’ve made it to the end. Pat yourself on the back.
If you’re still interested in audio after exhausting yourself with this article, AP Mastering on youtube has some enlightening videos.
X
Leave a Reply